11 Achieving a good image
11.1 General
- Adjusting the infrared camera focus.
- Adjusting the infrared image (automatically or manually).
- Selecting a suitable temperature range.
- Selecting a suitable color palette.
- Changing the measurement parameters.
- Performing a non-uniformity correction (NUC).
11.2 Adjusting the infrared camera focus
11.2.1 Manual focus
11.2.2 Autofocus
11.2.3 Continuous autofocus
11.3 Adjusting the infrared image
11.3.1 General
- Histogram: The colors are distributed based on the thermal content of the image.
- Linear: The colors are distributed evenly from the lowest to the highest temperature.
-
In live mode, touch the soft button
 to switch between automatic and manual image adjustment modes.
- In preview/edit mode, manual image adjustment mode is active.
11.3.1.1 Example 1
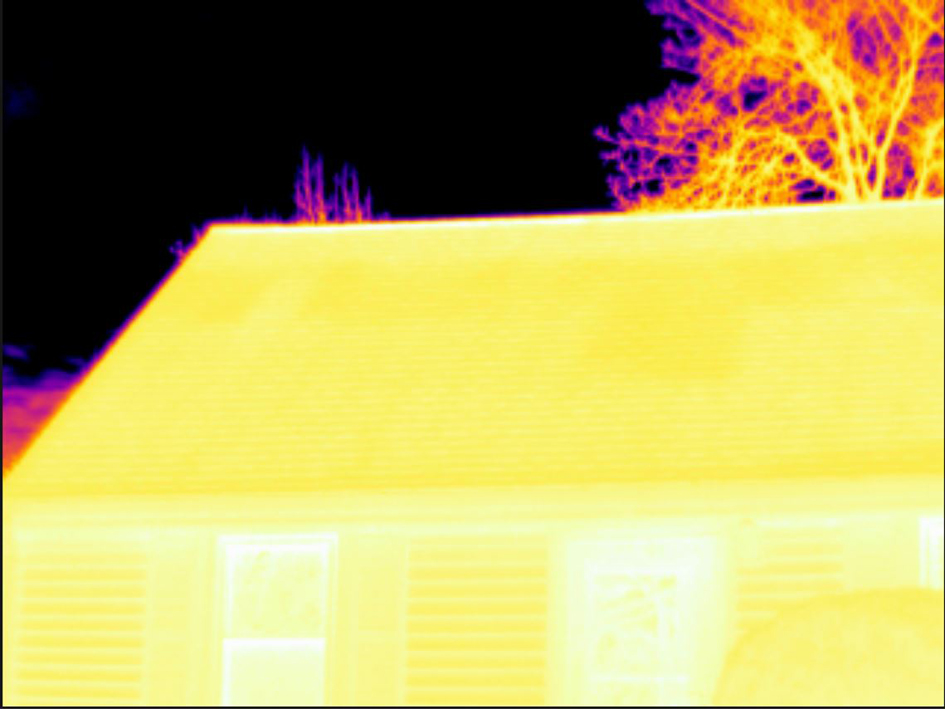
Automatic
|
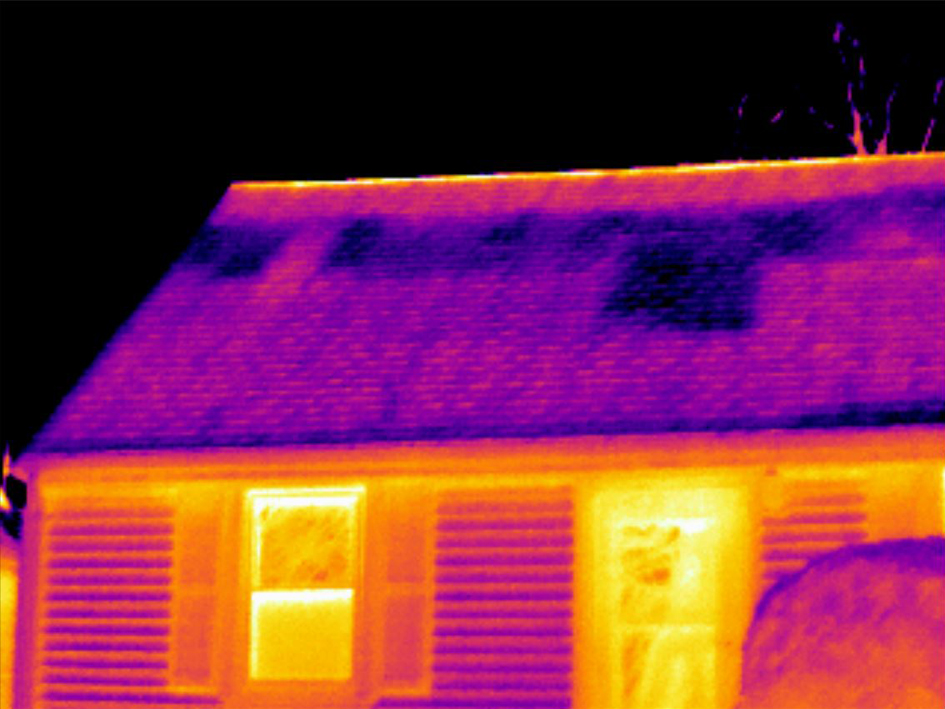
Manual
|
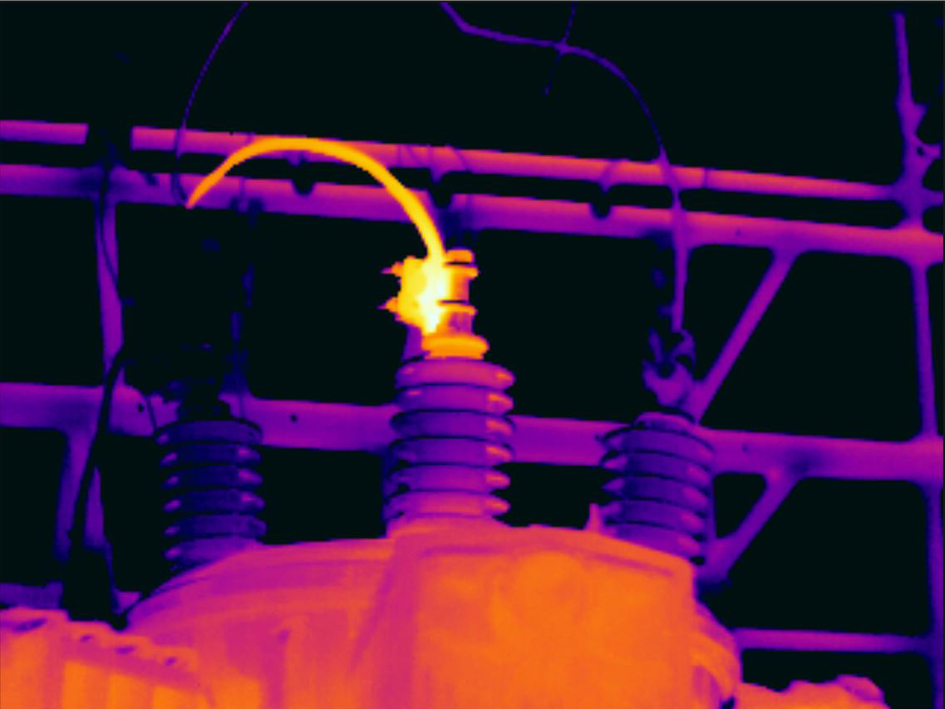
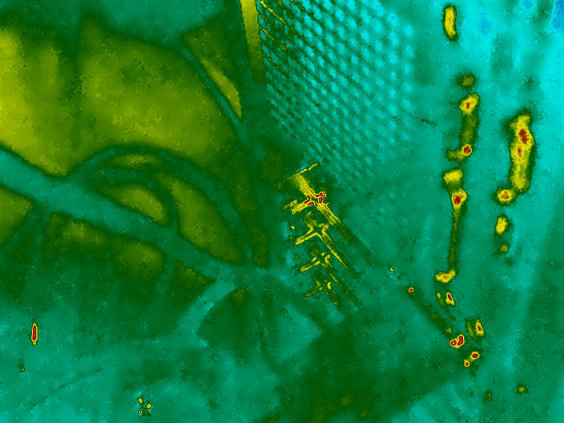
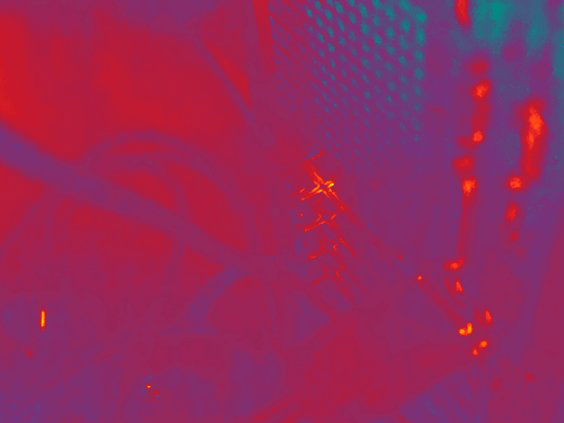
11.3.1.2 Example 2

Automatic
|
Manual
|
11.3.2 Auto adjustment region
11.3.3 Manual adjustment by touching the screen
11.3.3.1 General
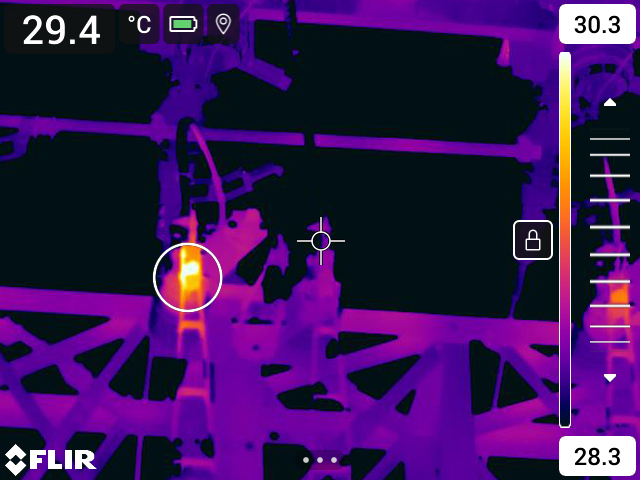
Figure 11.1 Manual adjustment mode active
11.3.3.2 Procedure
In live mode, touch the soft button ![]() to enter manual image adjustment mode.
to enter manual image adjustment mode.
To simultaneously change the temperature scale minimum and maximum limits, place your finger on the screen and move it up/down.
To change the minimum limit or the maximum limit, do the following:
- Touch the maximum or minimum temperature that you want to change.
- Place your finger on the screen and move it up/down to change the value of the highlighted temperature.
11.3.3.3 Auto-adjusting the image in manual mode
11.3.3.4 Locking the touch screen
11.3.4 Manual adjustment by using the navigation pad
11.3.4.1 Manual adjustment modes
- Level, Span: With this setting, you can manually adjust the level and span by using the navigation pad.
- Level, Max, Min: With this setting, you can manually adjust the level by using the navigation pad. You can also change the upper and lower temperatures individually.
11.3.5 Manual adjustment in Level, Span mode
Follow this procedure:
In live mode, touch the soft button ![]() to enter manual image adjustment mode.
to enter manual image adjustment mode.
Push the navigation pad up/down to increase/decrease the level.
Push the navigation pad left/right to increase/decrease the span.
11.3.6 Manual adjustment in Level, Max, Min mode
Follow this procedure:
In live mode, touch the soft button ![]() to enter manual image adjustment mode.
to enter manual image adjustment mode.
To simultaneously change the temperature scale minimum and maximum limits, push the navigation pad up/down.
To change the minimum limit or the maximum limit, do the following:
- Push the navigation pad left/right to select (highlight) the maximum or minimum temperature.
- Push the navigation pad up/down to change the value of the highlighted temperature.
11.4 Changing the camera temperature range
Follow this procedure:
Push the navigation pad to display the menu system.
Select ![]() (Settings) and push the navigation pad. This displays the Settings menu.
(Settings) and push the navigation pad. This displays the Settings menu.
Select Camera temperature range and push the navigation pad. This displays a dialog box.
Select the appropriate temperature range and push the navigation pad.
11.5 Changing the color palettes
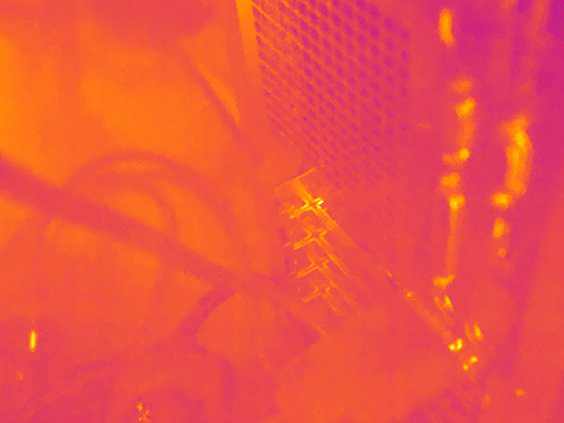
Iron
|
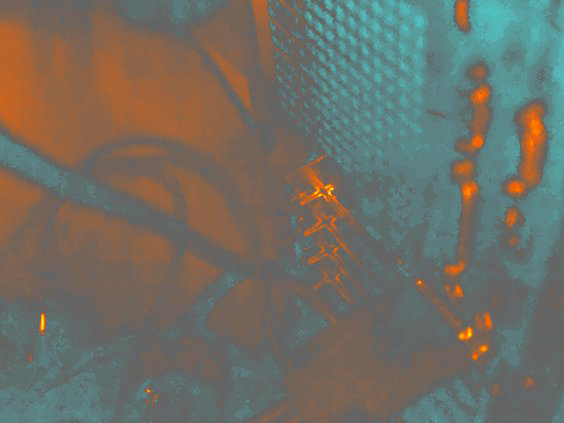
Arctic
|
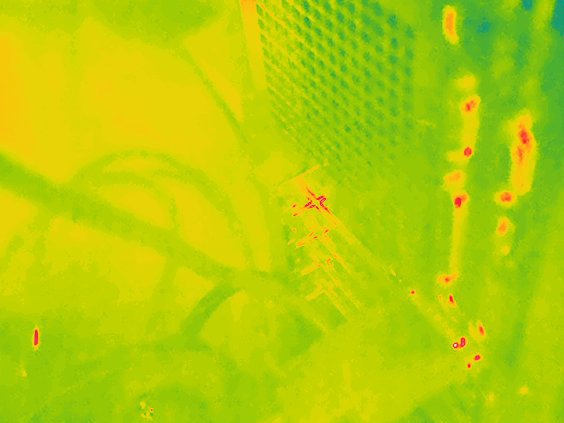
Rainbow
|
Rainbow high contrast
|
White hot
|
Black hot
|
Lava
|
Follow this procedure:
Push the navigation pad to display the menu system.
Select ![]() (Color) and push the navigation pad. This displays a submenu.
(Color) and push the navigation pad. This displays a submenu.
Use the navigation pad to select a different palette.
Push the navigation pad to confirm and exit the menu mode.
11.6 Changing the measurement parameters
- Emissivity.
- Reflected temperature.
- Object distance.
- Atmospheric temperature.
- Relative humidity.
- External IR window compensation.
11.7 Performing a non-uniformity correction (NUC)
11.7.1 General
11.7.2 Performing an NUC manually
11.8 Hiding all overlay
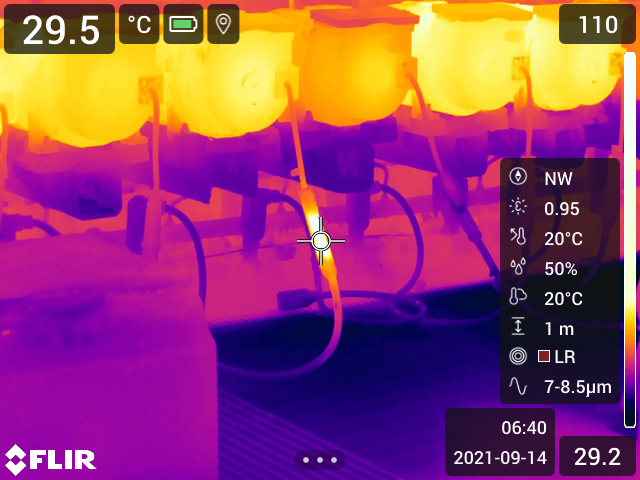
Image with camera overlay and image overlay information.
|
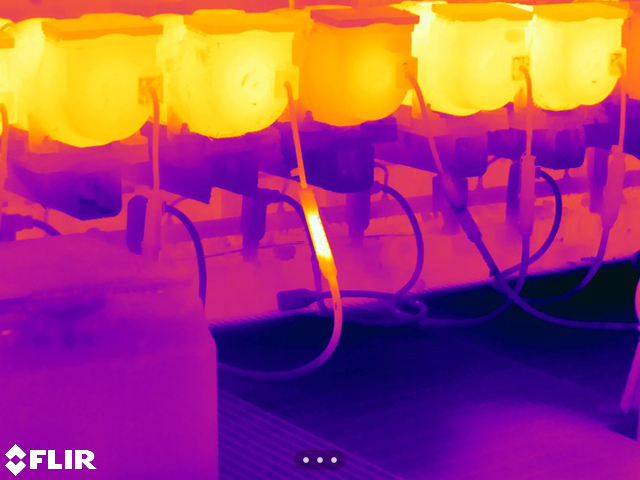
Image with all overlay hidden.
|