13 Creating report templates
13.1 General
13.1.1 Few or many report templates?
13.1.2 Typical structure
- INTRO: The front cover that, for example, can include your company logo and elements of corporate identity, the title of the report, the customer’s name and address, a summary table, and any additional artwork or information that you want to include.
- DATA: A number of different pages, containing combinations of thermal image objects, digital image objects, field objects, table objects, etc. Multiple DATA sections with different types of content, e.g., “IR only”, Visual only”, ”Two IR”, and “Two IR+Visual”, can be included.
- FINAL: Your conclusions, recommendations, diagnosis, and summary description.
13.1.3 A note about working in the Microsoft Word environment
13.2 Creating a custom infrared report template
- Customize a basic report template.
- Modify an existing report template.
13.2.1 Customizing a basic report template
Follow this procedure:
Open a basic report template by doing one of the following:
- On the FLIR tab in a Microsoft Word document, click Create new template.
-
In the Template window in the FLIR Report Studio wizard, click
in the upper part of the center pane.
A report template with basic layout opens, including the INTRO, DATA, and FINAL sections.
You can add more DATA sections to the template. For more information, see section 13.2.4 Adding multiple DATA sections .
Insert content in the report template, following the instructions in the document. You can use existing features in Microsoft Word and also add and remove objects and modify the properties of the objects as described in section 12.2 Managing objects in the report .
You can select a category for the report template. When saved, the report template will appear under the selected category in the left pane of the FLIR Report Studio wizard. For more information, see section 13.2.5 Selecting a template category .
Save the new infrared report template. Make sure that you save the template with the *.dotx file name extension.
Click OK.
13.2.2 Modifying an existing template—starting from the FLIR Word Add-in
Start Microsoft Word, but make sure that all infrared reports are closed.
On the FLIR tab, click the Create new template arrow. This displays a menu.
On the menu, click Create from existing template.
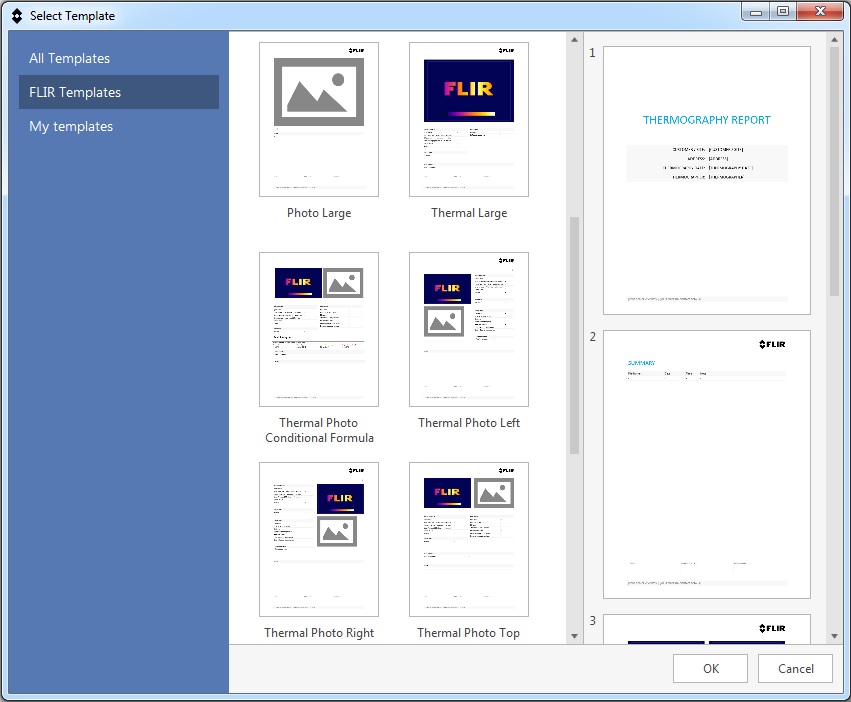
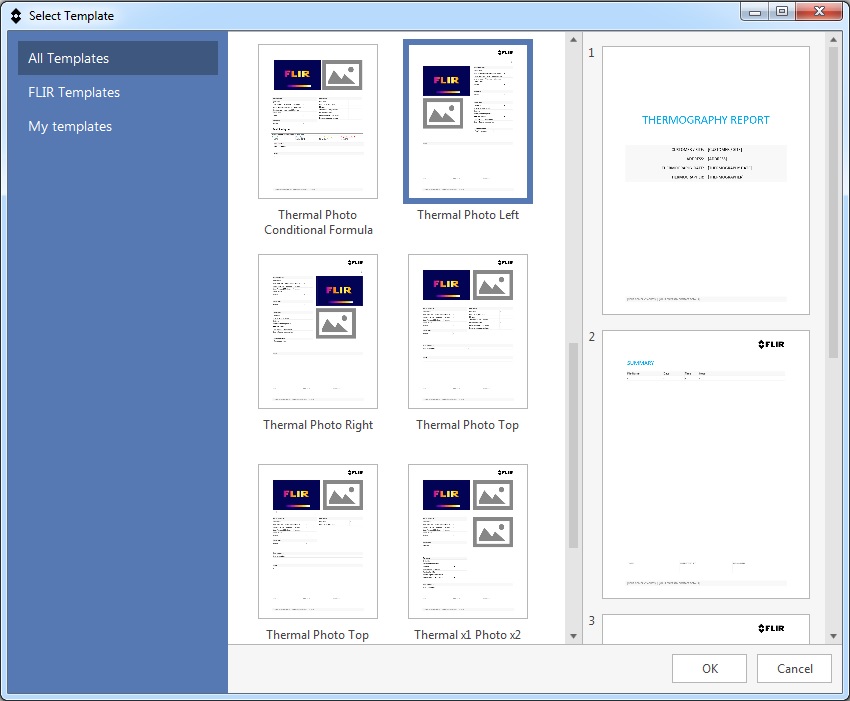
This displays the Select Template window.

In the left pane, select All Templates to display all of the templates available in FLIR Report Studio.
In the center pane, click a report template. A preview of each page in the selected report template will be displayed in the right pane.
To edit the selected template, click OK at the bottom of the window.

Make your changes to the original template by adding and removing objects and by modifying the properties of the objects as described in section 12.2 Managing objects in the report .
You can add more DATA sections to the template. For more information, see section 13.2.4 Adding multiple DATA sections .
You can select a category for the report template. When saved, the report template will appear under the selected category in the left pane of the FLIR Report Studio wizard. For more information, see section 13.2.5 Selecting a template category .
Save the new infrared report template. Make sure that you save the template with the *.dotx file name extension.
13.2.3 Modifying an existing template—starting from the FLIR Report Studio wizard
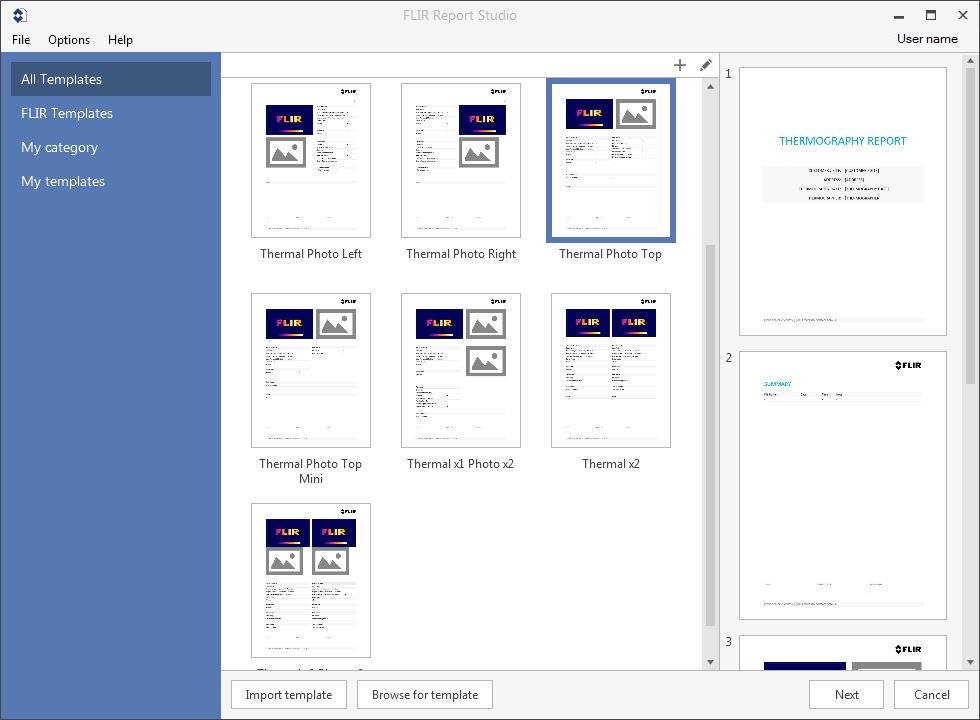
Start the FLIR Report Studio wizard.
In the left pane, select All Templates to display all of the templates available in FLIR Report Studio.
In the center pane, click a report template. A preview of each page in the selected report template will be displayed in the right pane.
To continue with the selected template, click
in the upper part of the center pane.

Make your changes to the original template by adding and removing objects and by modifying the properties of the objects as described in section 12.2 Managing objects in the report .
You can add more DATA sections to the template. For more information, see section 13.2.4 Adding multiple DATA sections .
You can select a category for the report template. When saved, the report template will appear under the selected category in the left pane of the FLIR Report Studio wizard. For more information, see section 13.2.5 Selecting a template category .
Save the new infrared report template. Make sure that you save the template with the *.dotx file name extension.
13.2.4 Adding multiple DATA sections
Follow this procedure:
In the FLIR Task Pane, right-click the DATA section and select Add Template Part.
In the Insert template part dialog box, enter the name of the new section.
When completed, click OK.
To change the order of the DATA sections, drag and drop a section in the FLIR Task Pane.
For each DATA section, add thermal and/or digital image objects, field objects, table objects, etc. For more information, see section 12.2 Managing objects in the report .
13.2.5 Selecting a template category
Follow this procedure:
On the FLIR tab, click the Settings arrow. This displays a menu. On the menu, select Template categories.
In the Select Template Categories dialog box, click the Create default button. To create a new category, click the Add button.
Select one or more categories.
When completed, click OK.