21 Handling the camera
21.1 Charging the battery
21.1.1 General
- Before starting the camera for the first time, charge the battery for 3 hours using the stand-alone battery charger.
- Select a mains socket that is near the equipment and easily accessible.
21.1.2 Using the stand-alone battery charger to charge the battery
Put one or two batteries in the battery charger.
Connect the power supply cable plug to the connector on the battery charger.
Connect the power supply mains-electricity plug to a mains socket.
When the white LED on the battery charger glows continuously, the batteries are fully charged.
It is good practice to disconnect the stand-alone battery charger from the mains socket when the batteries are fully charged.
21.1.2.1 Stand-alone battery charger LED indicator
|
Type of signal |
Explanation |
|---|---|
|
The white LED flashes.
|
The battery is being charged.
|
|
The white LED glows continuously.
|
The battery is fully charged.
|
21.1.3 Using the USB battery charger to charge the battery
- Put the battery into the battery compartment of the camera.
- Connect the USB battery charger to a mains socket.
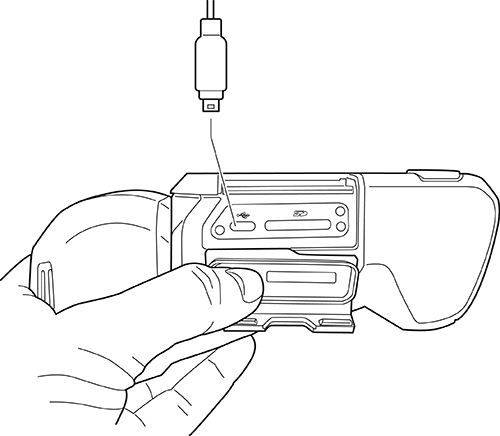
- Open the cover for the connector compartment at the bottom of the camera.
-
Connect the USB connector of the USB battery charger to the USB-C connector in the connector bay of the camera.
-
To check the status of the battery charging, do one of the following:
- If the camera is turned on: Place your finger at the top of the screen and swipe down. The battery status is displayed on the swipe-down menu.
- If the camera is turned off: The battery charging indicator is temporarily displayed on the screen.
- It is good practice to disconnect the USB battery charger from the mains socket when the battery is fully charged.
21.1.4 Charging the battery using a USB cable connected to a computer
- Open the cover for the connector compartment at the bottom of the camera.
-
Connect a USB cable to the USB-C connector in the connector bay. Connect the other end of the USB cable to the computer.
21.2 Installing and removing the camera battery
21.2.1 Installing the battery
Follow this procedure:
Push the battery into the battery compartment. The battery makes a click when it locks in place.
21.2.2 Removing the battery
Follow this procedure:
Turn off the camera.
Push the two release buttons and remove the battery from the camera.
21.3 Turning on and turning off the camera
-
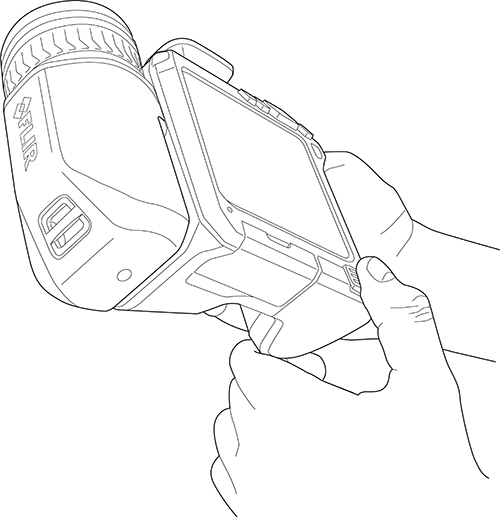
To turn on the camera, push the on/off button
.
-
To turn off the camera, push and hold the on/off button
for more than 0.5 second.
21.4 Adjusting the infrared camera focus
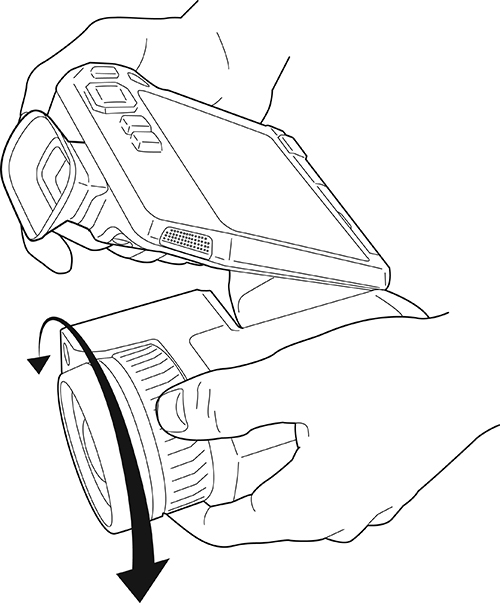
21.4.1 Manual focus
21.4.2 Autofocus
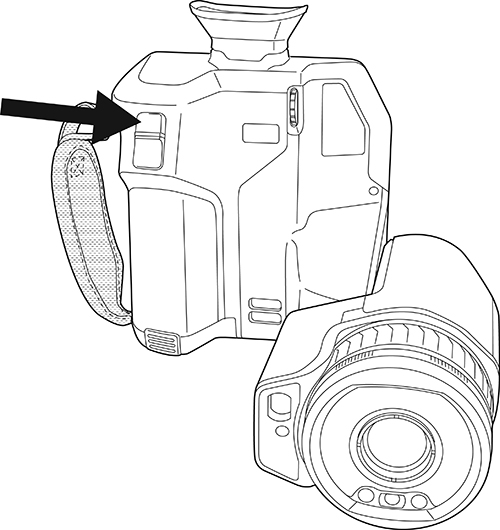
21.4.2.1 Autofocus method
- Contrast: The focus is based on maximizing the image contrast.
- Laser: The focus is based on a laser distance measurement. The laser is used when the camera is autofocusing.
21.4.3 Continuous autofocus
-
Select
 (Settings) > Device settings > Focus > Continuous autofocus > On or Off.
-
Touch the soft button
 .
.
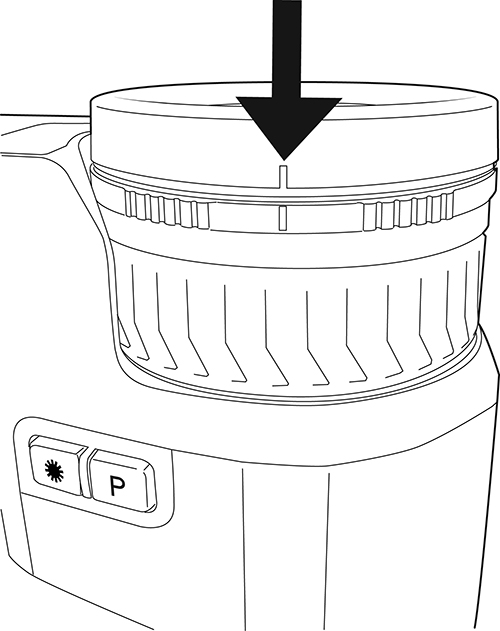
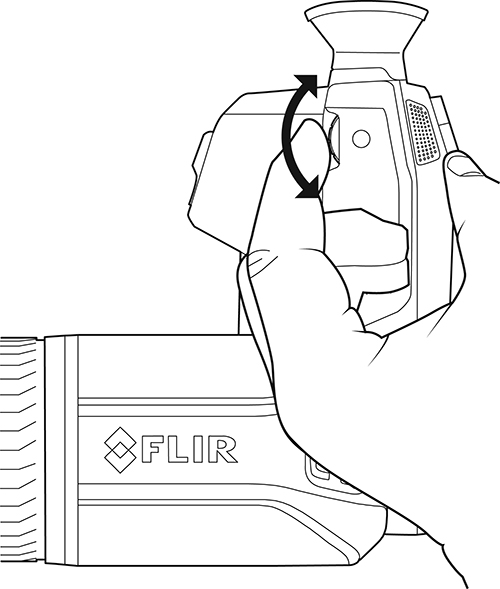
21.5 Adjusting the viewfinder’s dioptric correction (sharpness)
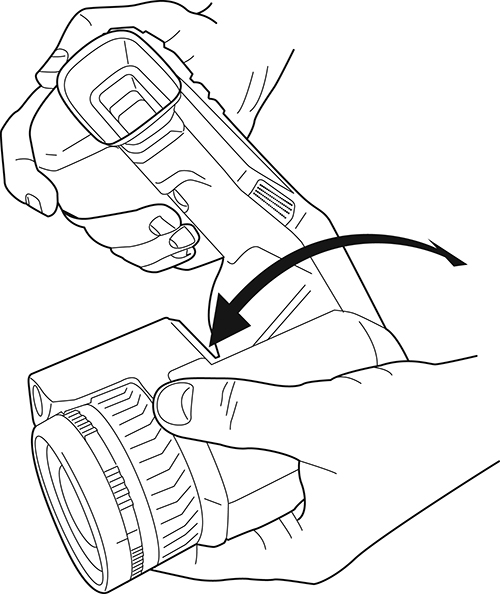
21.6 Adjusting the angle of lens
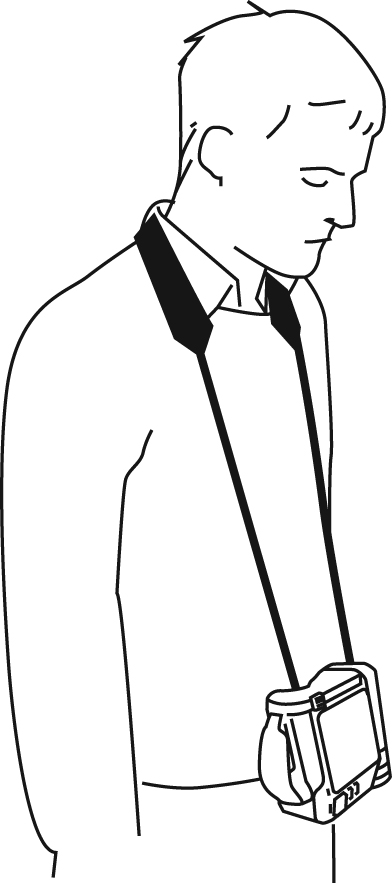
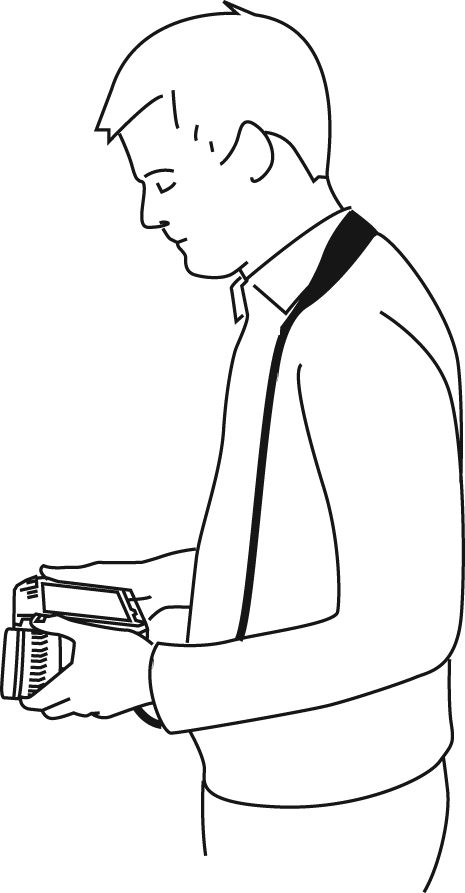
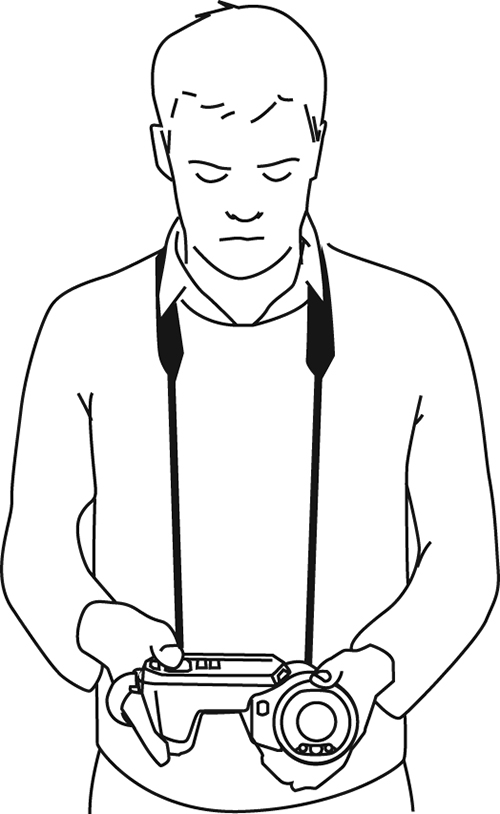
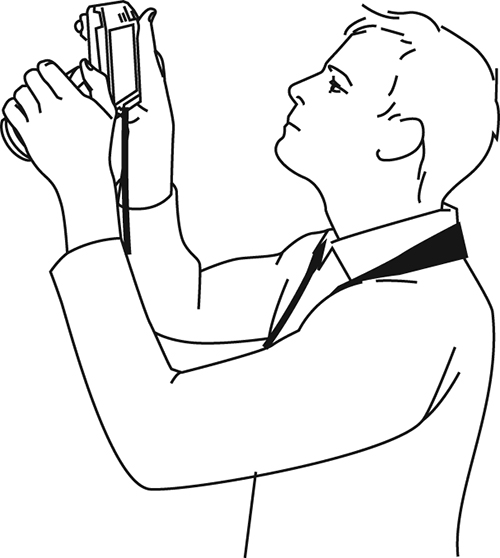
21.7 A note about ergonomics
|
|
|
|
|
|
21.8 Operating the laser distance meter
21.8.1 General
21.8.2 Procedure
To operate the laser, do the following:
To turn on the laser, push and hold the laser button
. The distance to the target is displayed on the screen.
To turn off the laser, release the laser button
.
21.9 Measuring areas
21.9.1 General
- Make sure that the box or circle tool is in the center of the image.
- Adjust the size of the box or circle tool to the size of the target.
- Hold the camera perpendicular to the target.
- Avoid targets with many details at different distances from the camera.
21.9.2 Procedure
Follow this procedure:
Add a box or circle measurement tool, see section 18.2 Adding/removing measurement tools .
Set the camera to measure and display the area of the box or circle, see section 18.6 Displaying values in the result table .
Make sure that the box or circle tool is in the center of the image, see section 18.4 Moving and resizing a measurement tool .
Adjust the size of the box or circle tool to the size of the target, see section 18.4 Moving and resizing a measurement tool .
Hold the camera perpendicular to the target. Push and hold the laser button
.
The calculated area is displayed in the result table.
21.10 Connecting external devices and storage media
- An SD memory card.
- A computer to move image and video files to and from the camera, using a USB-C to USB-A or a USB-C to USB-C cable.
- A video monitor or projector, using a USB-C to HDMI adapter.
- A USB battery charger.
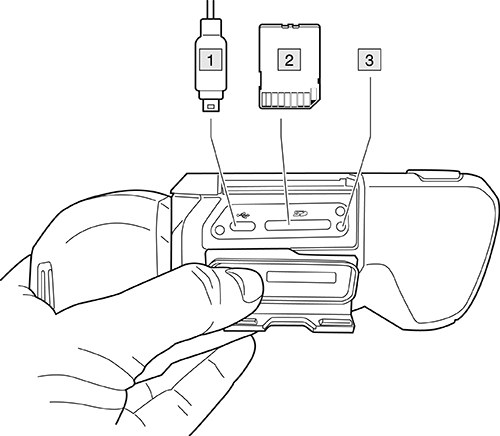
- USB-C cable.
- SD memory card.
- LED indicator showing that the memory card is busy.
21.10.1 Related topics
21.11 Moving files via USB cable
- Open the cover for the connector compartment at the bottom of the camera.
-
Connect a USB cable to the USB-C connector in the connector bay. Connect the other end of the USB cable to the computer.
- Turn on the camera.
-
Do one of the following:
- Move the files to the computer using a drag-and-drop operation.
- Import the images into a FLIR Thermography software.
21.11.1 Related topics
21.12 Programmable buttons
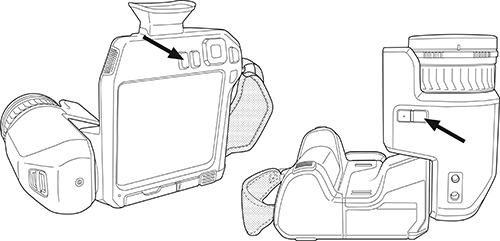
To assign a function to a programmable button, do the following:
Push and hold the programmable button. This displays the Programmable button menu.
Push the navigation pad up/down to select one of the functions. Push the center of the navigation pad to confirm.
21.12.1 Programmable button options
- No action: This is the default setting. Nothing will happen when you push the button.
- Switch Auto <> Manual temperature scale: Switch between automatic or manual image adjustment mode. For more information, see section 11 Infrared image adjustment .
- Autofocus: One-shot autofocus of the infrared camera.
- Continuous autofocus 5 : Switch between the enabled/disabled continuous autofocus functions.
- Hide image overlay graphics: Switch between hide/show all overlay graphics and image overlay information. For more information, see section 10.9 Hiding all overlay .
- Calibrate: Perform a manual NUC. For more information, see section 10.8 Non-uniformity correction (NUC) .
- Auto-adjust the manual temperature scale: Perform an automatic adjustment of the image while remaining in manual image adjustment mode.
- Switch Thermal <> Digital camera 6 : Switch between the image modes Thermal and Digital camera. For more information, see section 13 Image modes .
- Switch Thermal <> Thermal MSX: Switch between the image modes Thermal and Thermal MSX. For more information, see section 13 Image modes .
- Switch Thermal <> HSM: Switch between the image mode Thermal and the HSM mode. For more information, see sections 13 Image modes and 9.4 Enhancing the image using High Sensitivity Mode (HSM) .
- Switch 1x zoom <> Max zoom: Switch between the digital zoom factor of 1× and maximum zoom.
- Switch camera flash On <> Off: Switch between the enabled/disabled camera flash functions. For more information, see section 21.13 Using the camera lamp as a flash .
- Switch single shot <> Video: Switch between the recording modes Single shot and Video.
- Switch between two latest palettes: Switch between the two last-used color palettes. For more information, see section 12 Color palettes .
- Switch temperature range: Cycle through the camera temperature ranges. For more information, see section 23.4 Camera temperature range .
- Switch screen rotation On <> Off: Switch between enabled/disabled screen rotation.
- Save: Save an image.
- Save + Prompt for note: Save an image and display the note annotation tool.
- Save + Prompt for table: Save an image and display the table annotation tool.
- Save + Prompt for voice annotation: Save an image and display the voice annotation tool.
- Save + Prompt for sketch: Save an image and display the sketch annotation tool.
- Save + Select annotation from menu: Save an image and display the annotation tool menu.
- Preview: Display a preview image.
- Preview + Prompt for note: Display a preview image and the note annotation tool.
- Preview + Prompt for table: Display a preview image and the table annotation tool.
- Preview + Prompt for voice annotation: Display a preview image and the voice annotation tool.
- Preview + Prompt for sketch: Display a preview image and the sketch annotation tool.
- Preview + Select annotation from menu: Display a preview image and the annotation tool menu.
21.13 Using the camera lamp as a flash
Follow this procedure:
Push the navigation pad to display the menu system.
Select
(Settings) and push the navigation pad. This displays the Settings menu.
Use the navigation pad to select Device settings > Lamp & laser.
To use the camera lamp as a flash, do one of the following:
-
To enable the camera lamp function, select Enable lamp & laser and push the navigation pad. To turn on/off the camera lamp, touch the soft button
 or use the swipe-down menu.
- To enable the flash function, select Enable lamp & laser + Use lamp as flash and push the navigation pad.
- To disable the camera lamp and flash functions, select Disable all and push the navigation pad.
21.14 Calibrating the compass
Follow this procedure:
Push the navigation pad to display the menu system.
Select
(Settings) and push the navigation pad. This displays the Settings menu.
Use the navigation pad to select Device settings > Geolocation > Compass.
Make sure the compass is enabled by toggling the switch.
Select Calibrate compass and push the navigation pad. Follow the on-screen instructions.
21.15 Changing camera lenses
-
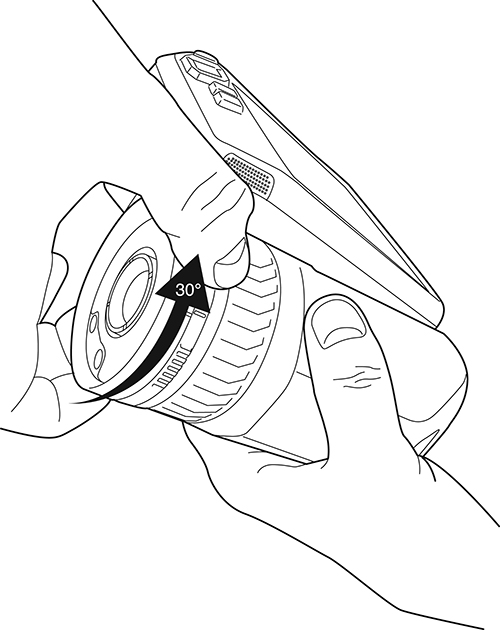
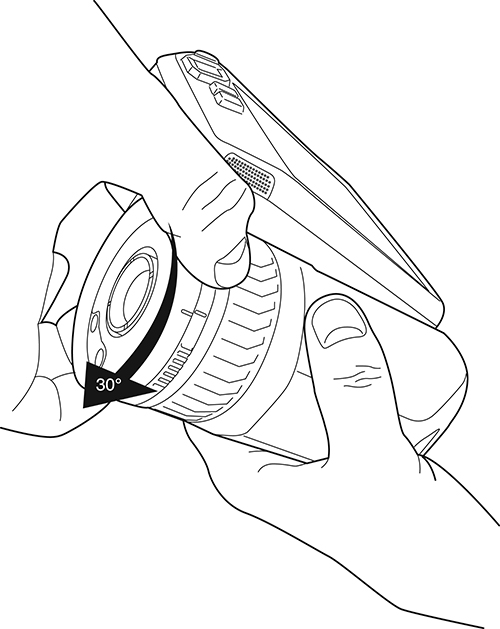
Take a firm grip around the inner ring of the lens. Rotate the inner ring 30° counter-clockwise until it stops.
-
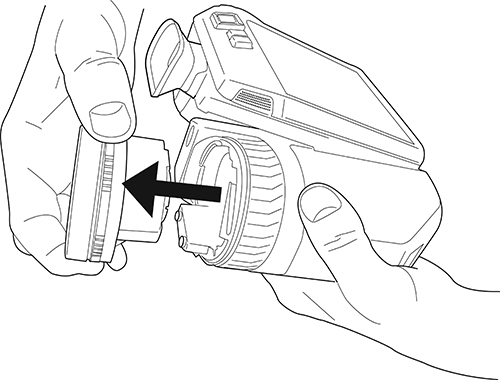
Carefully pull out the lens.
-
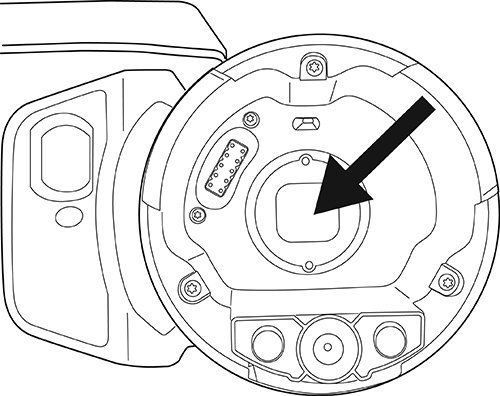
The infrared detector is now fully exposed. Do not touch this surface. If you see dust on the detector, follow the instructions
in
22.3 Infrared detector
.
-
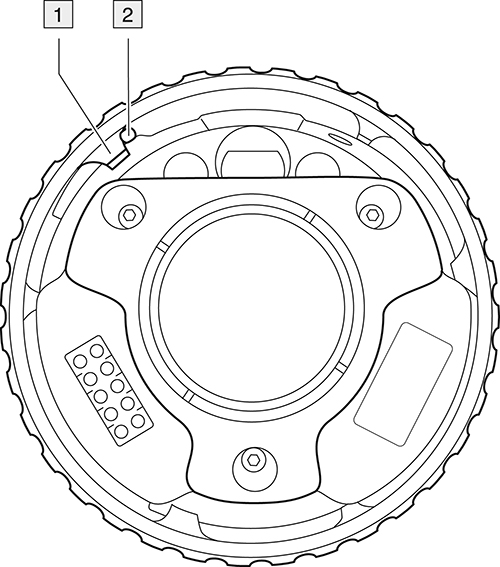
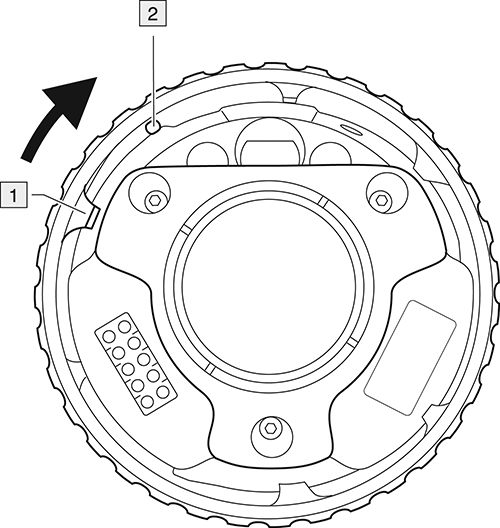
Make sure that the inner ring of the camera lens is fully in its open position.
-
Correct: The tooth (1) is in its end position at the black stop pin (2).
-
Wrong: You must rotate the inner ring until the tooth (1) reaches the black stop pin (2).
-
Correct: The tooth (1) is in its end position at the black stop pin (2).
-
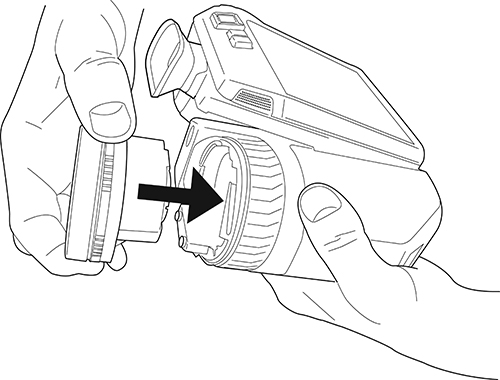
Carefully push the lens into position.
-
Rotate the inner ring of the lens 30° clockwise. The lens makes a click when it locks in place.
-
Make sure that the two index marks are aligned, indicating that the lens is locked in place.
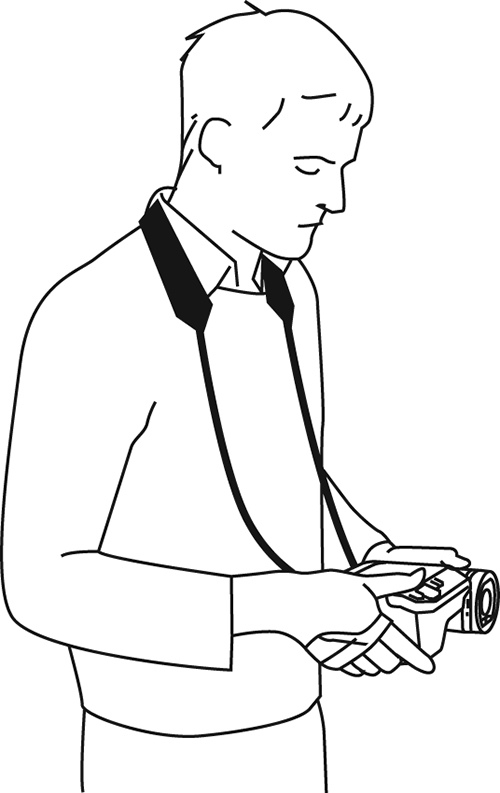
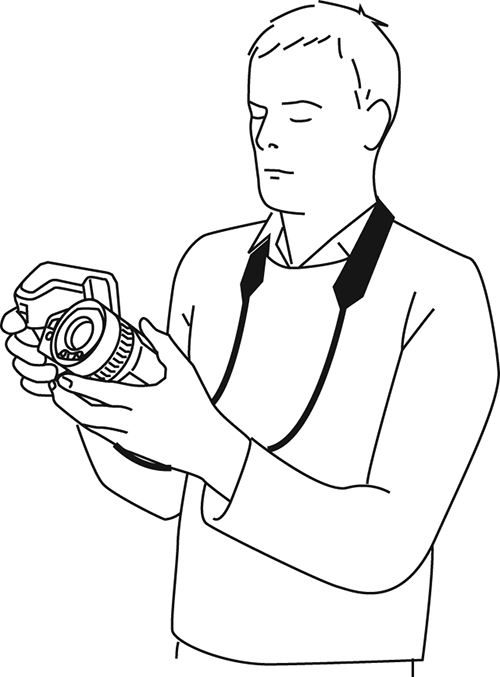
21.16 Neck strap
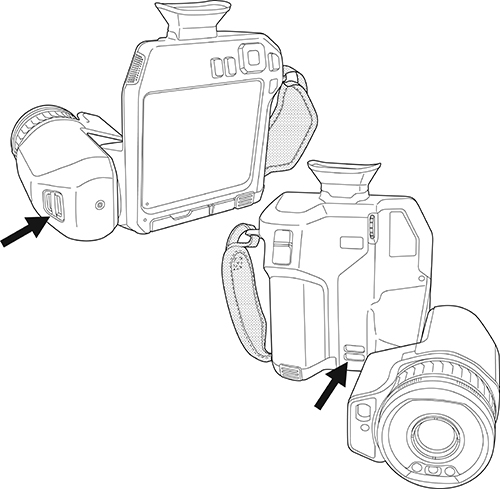
21.17 Hand strap
- Remove the battery.
- Open the hook-and-loop fastener and remove the hand strap from the upper attachment point.
-
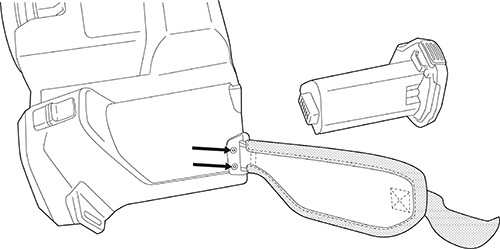
Remove the two T6 screws.
- Remove the hand strap from the bracket at the base of the camera.
-
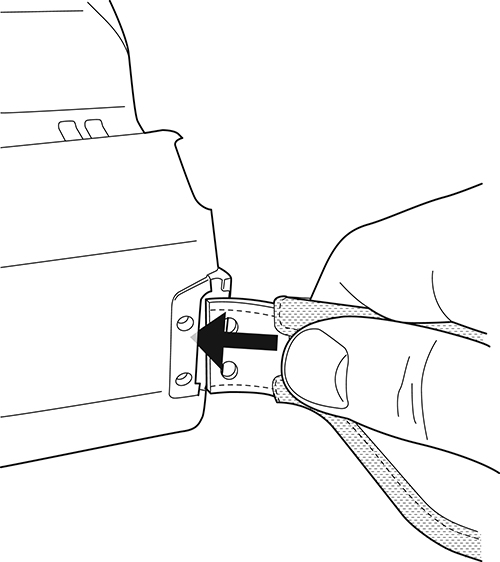
Put the new hand strap into the bracket at the base of the camera.
- Push the bracket into the camera. Make sure that the two holes in the hand strap are aligned with the holes in the bracket.
- Tighten the two T6 screws.
- Thread the loose strap through the upper attachment point. Secure the strap with the hook-and-loop fastener.
